(Last Updated: 19 April 2016)
To me, there’s just something fun about running Windows on a tiny computer. This is true even when the version of Windows you run is IoT Core. For those of you who haven’t had a chance to play with it yet, IoT Core is a stripped-down (and free) version of Windows that is meant to be used on a dedicated computing device. IoT Core doesn’t have the customary GUI. Rather, you can (if you want) run a UWP application at boot that uses the HDMI display to interact with the user. And, just to be clear, yes: It runs “ordinary” Windows Universal Drivers.
Windows 10 IoT Core for the Raspberry Pi 3 (RPI 3) is currently available as part of the Insider Preview program. In other words, it’s still basically in Beta test. So, while it’s very usable, you do have to expect some unfinished edges. The goal of this blog post is to help you past those rough edges, and get you to the point where you’re having fun. The info here is currently as of 15 April 2016, and was tested with Win10 IoT Core Build 14262. So, get out your RPI3 and Windows 10 host system and get ready to put Win10 IoT Core to work.
Here are some tips that’ll save you time and annoyance as you attempt to start playing with your PI:
- There’s lots of scattered documentation about how to install and use Win10 IoT Core on the RPI 3. Yay! The documentation is often inconsistent, incorrect, and/or out of date. Boo! This can *really* make you nuts. It doesn’t matter if the docs you read are on GitHub, MSDN, or the Windows On Devices web site. You have a greater than 50% chance that whatever docs you’re reading won’t be correct. But, relax. Remember Win10 IoT Core for RPI3 is still in Beta. And fear not! The fact that the docs can be “a bit confusing” was my motivation for assembling this list.
- The build of Win10 IoT Core for the RPI 3 is the same as the build for the RPI 2. And it’s 32-bits. Don’t go looking for the 64-bit build of IoT Core on the Insider Program, because you won’t find it.
- You need a host system running Windows 10 to be able to build images for and properly interact with your RPI running IoT Core.
- Download the Windows 10 IoT Core Dashboard onto your Win10 host system. It’s cool, and it’s helpful. Download it from the link provided on this web page. Don’t follow any of the other instructions on the linked web page however. Thar be dragons.
- Be sure to use one of the “approved” SD cards. The list is here.
- If you put NOOBS on your SD card and install Win10 IoT Core from that, it’ll work. But you won’t be able to find the Boot Configuration Database (BCD). Or, at least I couldn’t find it, no matter what I did. And if you can’t find the BCD, you can’t run BCDEdit. And if you can’t run BCDEdit you can’t setup your PI for kernel debugging with WinDbg. Ugh.

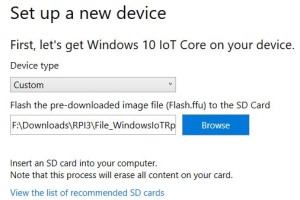
- If you use the IoT Core Dashboard to install Win10 IoT Core onto your RPI 3 using the nice automated download process, the resulting SD card won’t boot. Surprise! I was hung up on this step for about a week. The trick is to select “Custom” and not “Raspberry PI 2” as the Device type as shown in Figure 1. For more details, use the manual installation steps that appear here. These steps actually do work, at least in my experience. And, even better, when you install with this method you can use BCDEdit successfully.
- You can remote to your RPI 3 with PowerShell, but don’t bother. There are a lot of things you can do. But not all of them are smart or fun. Remoting into your PI with PowerShell is one of those things that seems, to me at least, to be neither fun nor smart.
- You can access the SD card in your network attached PI with good old Windows Explorer. Just map the remote drive. Save yourself time and effort.
- You can SSH into your PI. Seriously. Get PuTTY, connect via SSH, login with the administrator username and password, and you’ve got yourself a command prompt window to execute commands on your PI. This will let you do most of the things you want.
- The WiFi on the PI3 isn’t supported. Yet. Still Beta, remember?
- Bluetooth on the Pi3 isn’t supported. Yet. C’mon folks, it’s early days.
- You can’t bring up the GUI or a console prompt on the main (HDMI-connected) display.
- You *can* run console-mode applications on your PI. Not from the main display, but from the command prompt via SSH as described previously.
Updates:

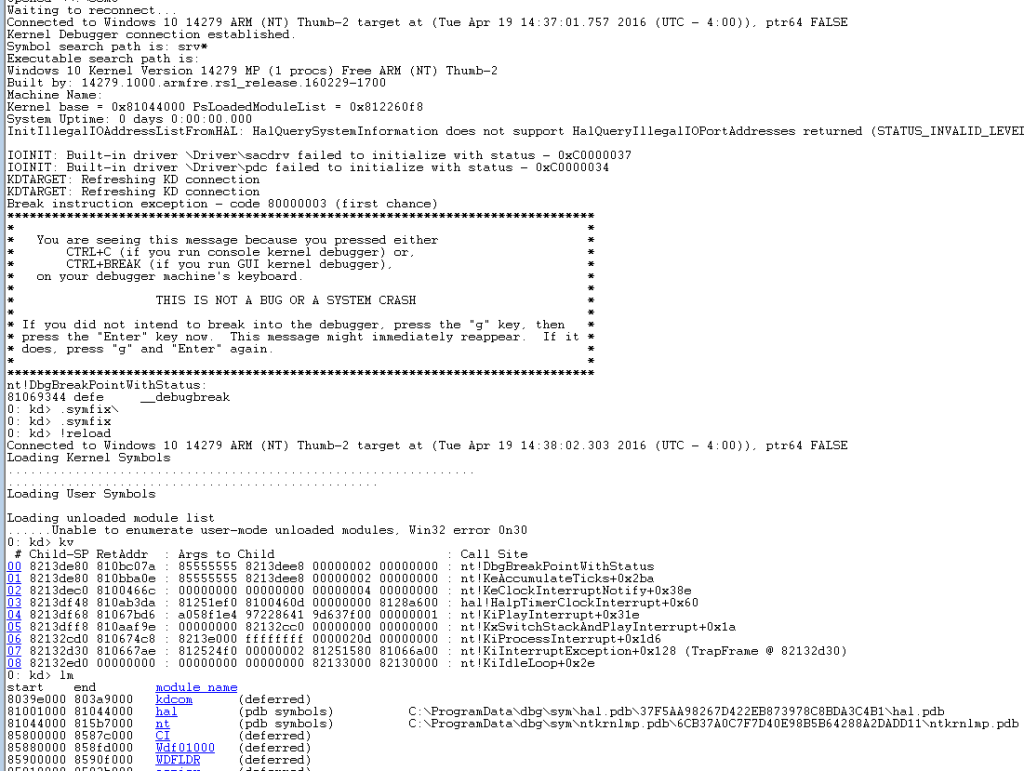
- You can’t connect WinDbg to the RPI 3 via the network. You have to use the serial port. To be successful in this endeavor, you’ll need a super-secret TTL to USB Serial Port cable (this one from Adafruit works just dandy). Connect the black, white, and green wires on the serial port fixture to pins 6, 8 and 10 (respectively) of the RPI 3 GPIO header. Don’t take my word for it, though. You can see the rest of the WinDbg setup instructions here.
We’ll have more tips for you as time goes on. In the mean time, enjoy the PI!
